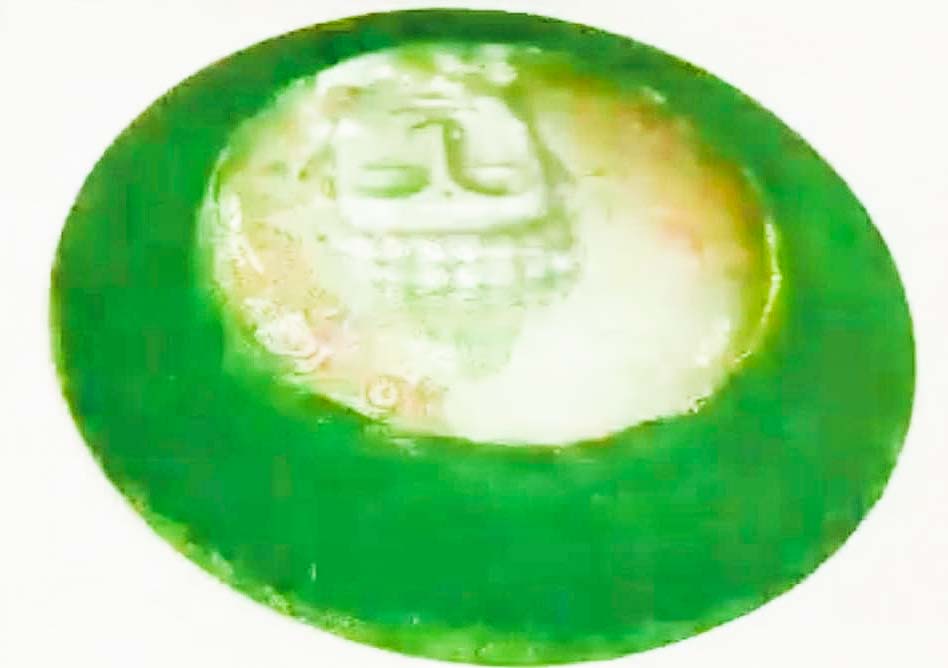
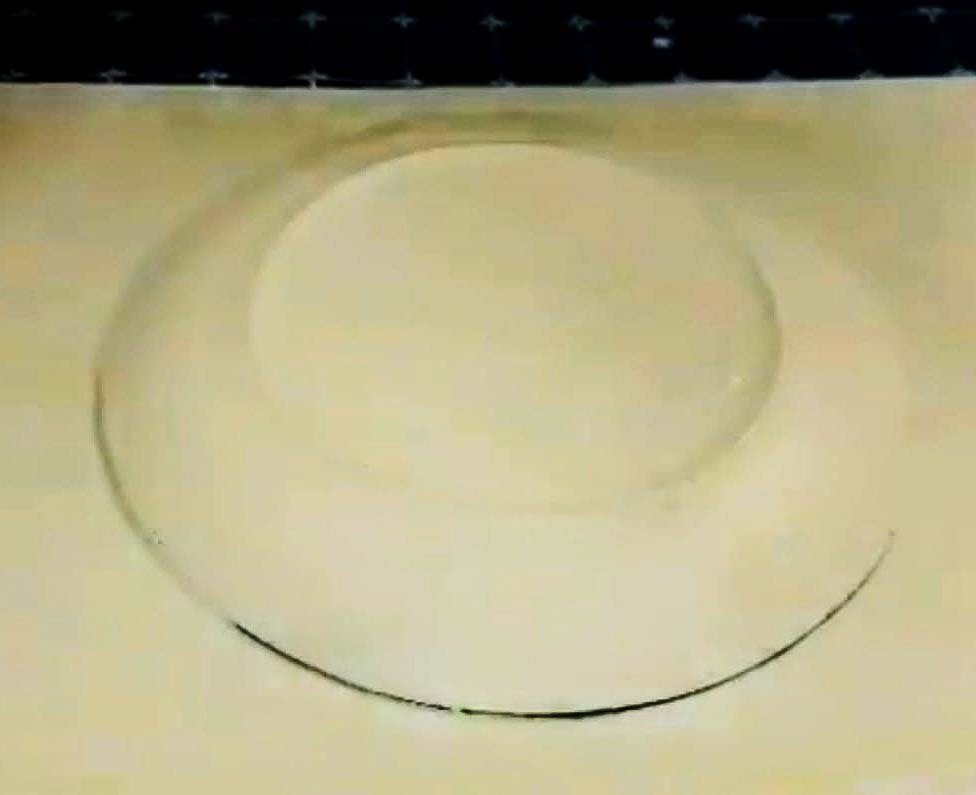
Reverse decoupage is done on glass and it is called reverse because all the steps of regular decoupage are in reverse. Earlier we had seen how reverse decoupage is done. In this article we shall see the complexities involved in getting crackle effect on glass. Firstly glass is smooth and hence the colour does not catch easily. Also the colours on glass need to dry completely before the next layer can in applied.
What exactly is reverse decoupage
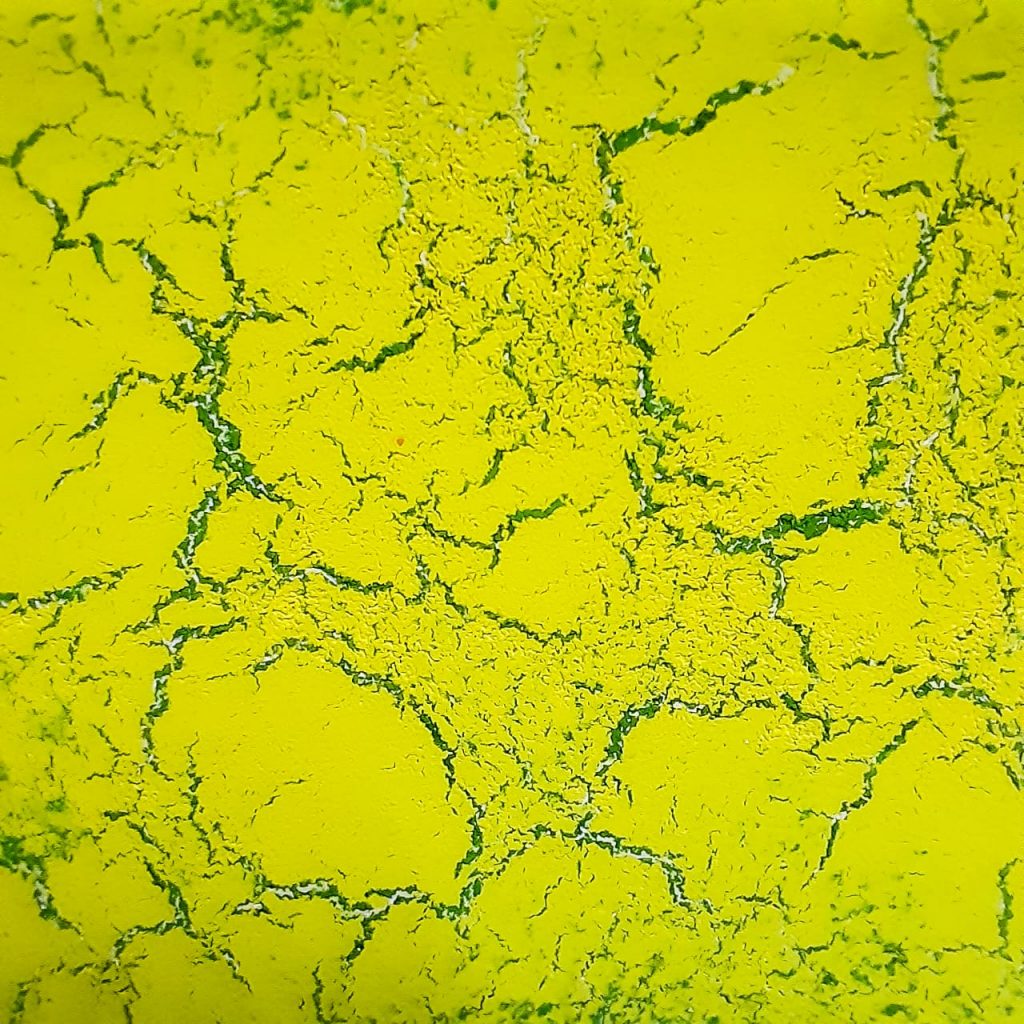
On an MDF sheet, first the dark colour is applied. After it is dry the crackle medium is applied and allowed to dry completely. Finally the last layer is of the lighter colour is applied and when it dries up the cracks appear due to the crackle medium below it.
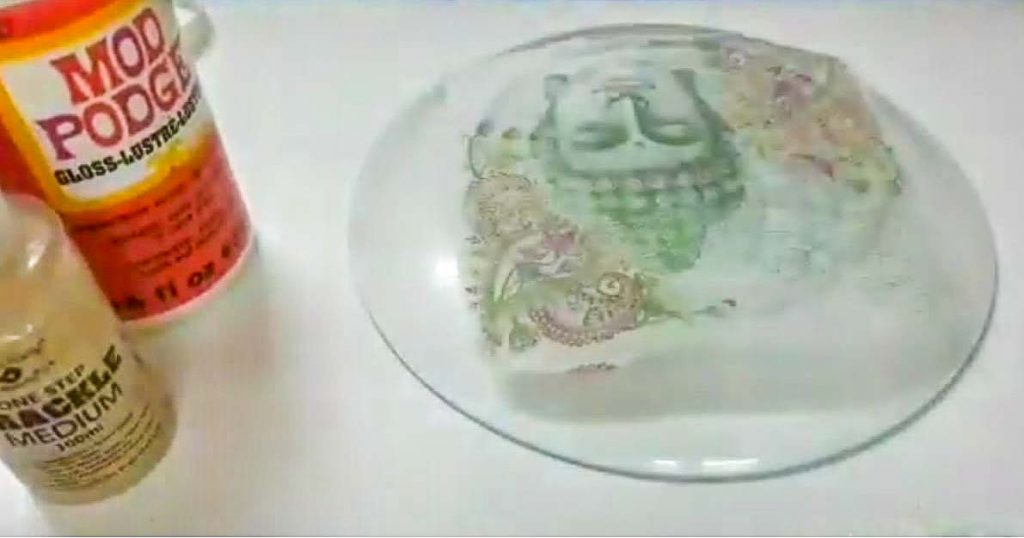
There are three kinds of crackle medium available. First is texture paste which is available from the brand Little Birdie. Second is One Step crackle medium again from the brand Little Birdie. Third option is using Fevicol MR which is easily available in all stationary stores. Plus Fevicol is cheaper to use. Texture paste from Little Birdie gives a direct crack effect on any surface. You can later apply colour also. For the purpose of this article we have used One Step crackle medium.
In case of reverse decoupage, since it is done on glass, the steps are in reverse. So is the crackle effect to be done in reverse.
Steps for crackle effect in reverse decoupage
First paste the central picture on the glass using decoupage glue. Once that is over we shall use the outer area for doing crackle effect. Apply One Step crackle medium directly on glass. Let it dry completely.
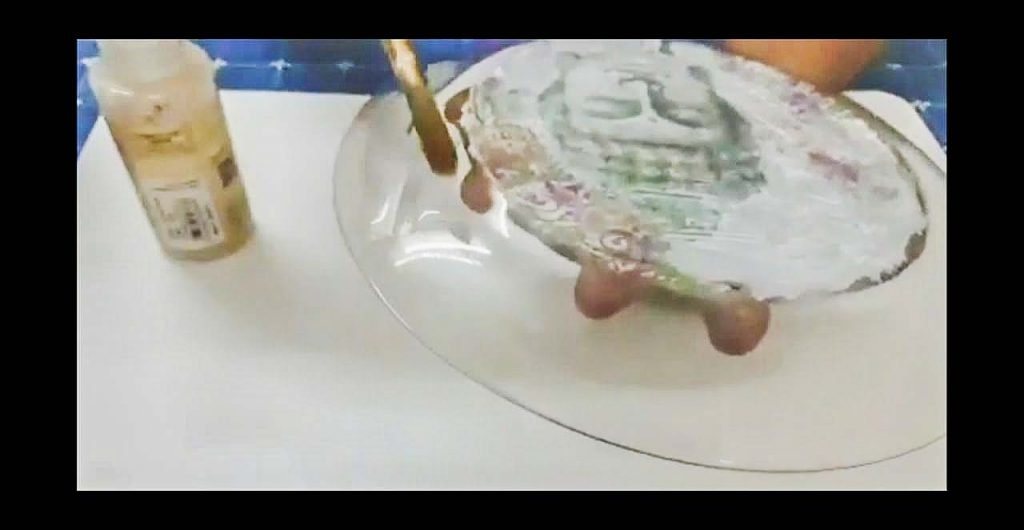
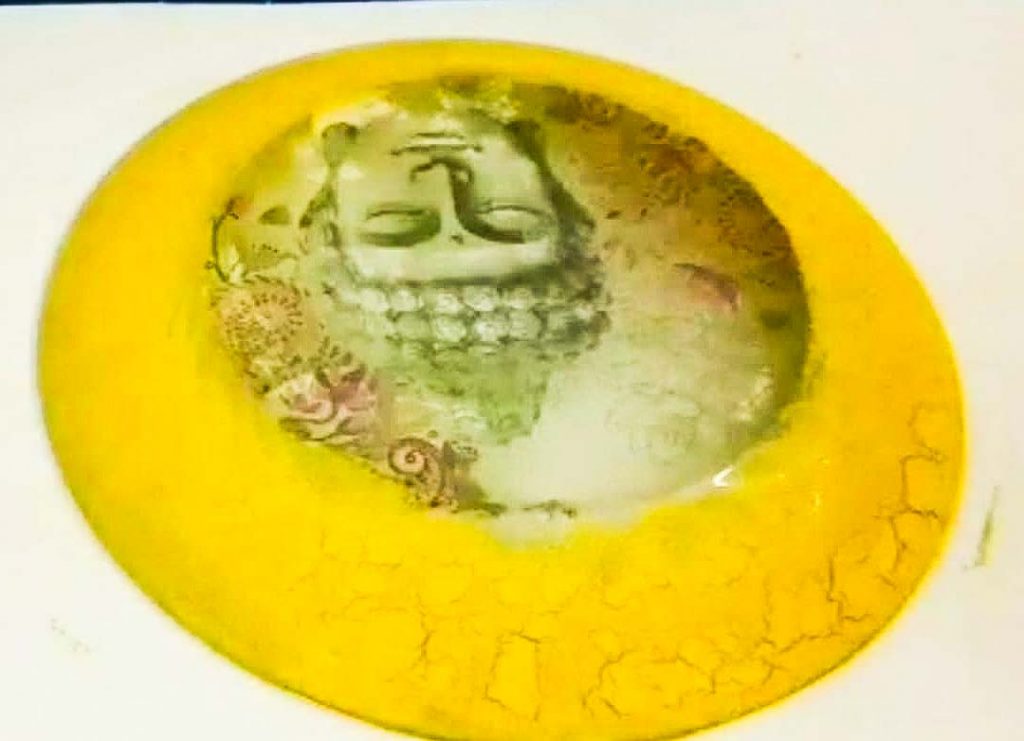
Then apply the coat of lighter colour. You can easily see the cracks, once the paint has dried up. Then apply a second coat of darker shade on the dried layer. Once the colour is dried give it a finished look by applying white colour as the base. This completes the crackle effect on glass.
